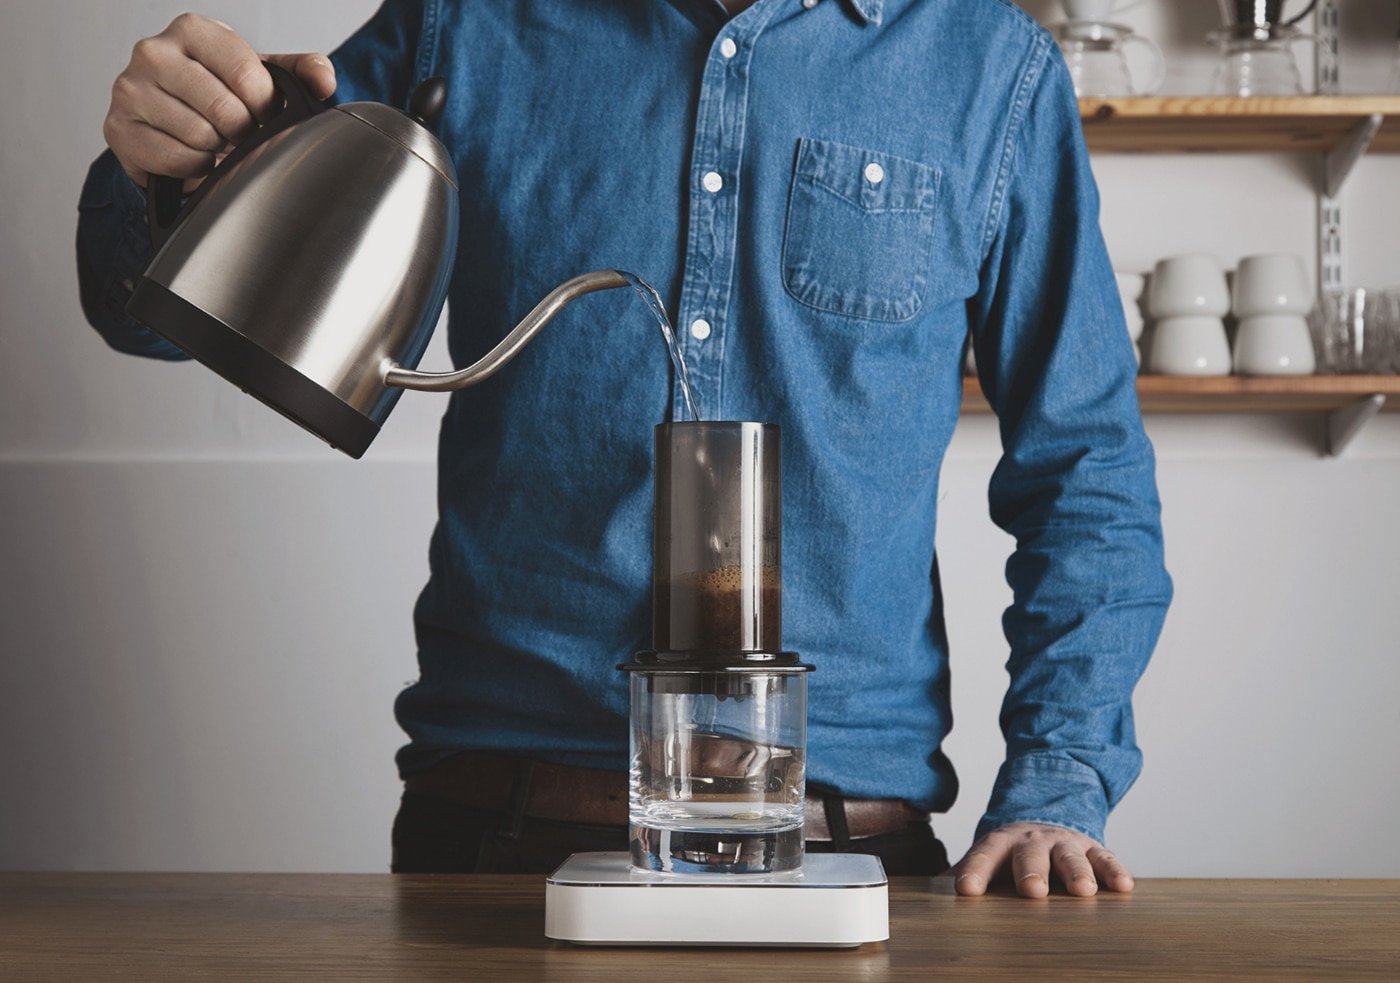
Learning how to make AeroPress coffee gives you one of the most flexible ways to brew at home or while travelling.
The AeroPress is compact, quick to clean and allows you to experiment with coffee dose, water temperature, grind size and brewing time. Small adjustments can produce noticeably different cups, making it an excellent brewer for anyone who enjoys experimenting.
There isn’t one universally perfect recipe.
This guide explains how to make AeroPress coffee using a straightforward starting method before showing you how to adjust it to suit your coffee and taste.
What you’ll need
Before learning how to make AeroPress coffee, gather the following:
- AeroPress brewer
- AeroPress filter
- Freshly roasted coffee beans
- Burr grinder
- Kettle
- Digital scales
- Timer
- Stirrer
- Mug or server
A temperature-controlled kettle is useful but isn’t essential. If you can weigh your coffee and water accurately, you’ll already have much more control over your brewing.
Step 1: Choose your coffee
Choosing good beans is the first step in how to make AeroPress coffee that tastes great.
The AeroPress works with a wide variety of coffees and roast levels, so you don’t need beans labelled specifically for AeroPress brewing.
Lighter roasts can highlight fruitier and more delicate characteristics, while medium and darker roasts may produce richer chocolatey, nutty or caramel-like flavours.
Browse our freshly roasted coffee to explore different origins and flavour profiles.
Our guide to choosing the best coffee beans can also help if you’re unsure where to begin.
Step 2: Choose your coffee-to-water ratio
When learning how to make AeroPress coffee, a consistent ratio makes each brew much easier to repeat.
For this recipe, start with:
15g coffee
225g water
That’s a coffee-to-water ratio of 1:15.
You don’t have to use this exact ratio every time. Think of it as a starting point that you can adjust after tasting the finished coffee.
If you prefer a stronger cup, you can experiment with slightly more coffee or less water. For a lighter result, try the opposite.
Understanding your ratio is one of the simplest ways to make how to make AeroPress coffee more consistent.
Step 3: Grind the coffee
Start with a medium-fine grind.
Avoid relying too heavily on comparisons such as “table salt”, because grinders and people’s interpretations of grind size vary considerably.
Instead, use taste and brewing behaviour to guide your adjustments.
If your coffee tastes weak or noticeably under-extracted, a finer grind may help. If it tastes overly harsh or extraction seems excessive, try grinding slightly coarser.
Make small changes rather than dramatically altering the setting.
Learning how grind size affects flavour is an important part of how to make AeroPress coffee consistently.
Step 4: Prepare the AeroPress
Place a paper filter inside the filter cap and attach it securely to the brewing chamber.
You can rinse the paper filter with hot water if you wish. This also warms the brewer and your mug.
Discard the rinse water before brewing.
Place the AeroPress securely over a sturdy mug or server. Make sure the vessel is stable and suitable for the pressure you’ll apply while plunging.
Add your ground coffee to the chamber.
Your equipment is now ready for brewing.
Step 5: Heat the water
You don’t need to use boiling water for every AeroPress recipe.
Water temperature can be adjusted according to the coffee, roast and flavour you’re trying to achieve.
For a straightforward starting recipe, try water around 90–95°C.
If you don’t have a temperature-controlled kettle, bring the water to the boil and allow it to cool briefly before brewing.
Temperature is another variable you can experiment with once you’ve mastered the basic method.
Keeping your other variables consistent will make it easier to understand how temperature changes how to make AeroPress coffee.
Step 6: Add the water
Place the AeroPress and mug on your scales and tare them to zero.
Start your timer and pour the hot water over the coffee until you reach approximately 225g.
Try to wet all the grounds evenly.
There’s no need to pour aggressively.
Once you’ve added the water, you’re ready to stir.
Using scales rather than judging water by eye makes how to make AeroPress coffee much easier to reproduce from one brew to the next.
Step 7: Stir and steep
Gently stir the coffee and water to make sure the grounds are evenly saturated.
You don’t need to stir continuously.
After stirring, insert the plunger slightly into the top of the chamber. This can help reduce coffee dripping through the filter while the brew steeps.
For this starting recipe, allow the coffee to brew for around 1½ to 2 minutes before pressing.
AeroPress recipes vary enormously, so don’t treat this brewing time as an absolute rule.
The manufacturer’s own AeroPress brewing guidance demonstrates just how adaptable the brewer can be.
Experimenting with steeping time is part of learning how to make AeroPress coffee the way you like it.
Step 8: Press slowly
Once the steeping period is complete, begin pressing the plunger down slowly and steadily.
You don’t need excessive force.
If the plunger is extremely difficult to move, your grind may be particularly fine or the filter may be offering more resistance.
Keep the AeroPress and mug stable while pressing.
Continue until you’ve pushed the coffee through the filter.
A controlled press is preferable to forcing the plunger down as quickly as possible.
That’s the basic process for how to make AeroPress coffee using the standard upright method.
Step 9: Taste your coffee
Taste the coffee once it has cooled slightly.
Don’t immediately assume the recipe needs changing. Coffee flavours become easier to identify as the drink cools.
If you aren’t happy with the result, adjust one variable on your next brew.
Coffee tastes weak: Try a finer grind, longer steep or stronger coffee-to-water ratio.
Coffee tastes overly harsh: Experiment with a coarser grind, shorter steep or lower water temperature.
Coffee tastes too strong: Add a little hot water to the finished brew or adjust the ratio next time.
Making one change at a time is one of the best ways to understand how to make AeroPress coffee to your preference.
Can you use the inverted AeroPress method?
Yes, but it isn’t necessary for making excellent coffee.
The inverted method involves brewing with the AeroPress turned upside down before attaching the filter cap and carefully flipping the brewer onto the cup.
Some people use this method to prevent coffee dripping through during the steep.
However, flipping a brewer containing hot water introduces an additional spill risk.
The standard method is simpler and avoids that manoeuvre, making it a sensible place to begin when you’re first learning how to make AeroPress coffee.
Paper vs metal AeroPress filters
Paper filters are convenient, inexpensive and produce a clean cup with very little sediment.
Reusable metal filters allow more coffee oils and very fine particles into the finished drink, which can create a fuller-bodied texture.
Neither option is universally better.
If you enjoy a cleaner cup, paper is an excellent choice. If you prefer more body, you may enjoy experimenting with a metal filter.
Keep the rest of your recipe unchanged when comparing filters so you can clearly taste the difference.
Can you make strong coffee with an AeroPress?
Yes.
One of the advantages of the brewer is its flexibility.
You can use a stronger coffee-to-water ratio to create a more concentrated drink and then enjoy it as it is or dilute it afterwards.
However, AeroPress coffee isn’t automatically espresso.
Traditional espresso is produced using substantially different brewing equipment and pressure.
If you specifically want espresso, see our guide on how to make an espresso.
Understanding this distinction is useful when learning how to make AeroPress coffee because you can concentrate on what the brewer does well rather than trying to force it to imitate another brewing method.
AeroPress vs cafetière
Both are immersion-style brewing methods, but they produce noticeably different results.
A cafetière typically uses a coarser grind and metal mesh filter, producing a fuller-bodied cup with more oils and fine sediment.
The AeroPress uses pressure during the final plunge and commonly uses a paper filter, resulting in a cleaner cup.
It also tends to brew smaller quantities and is considerably more compact.
Neither method is inherently better. They simply offer different brewing experiences.
AeroPress vs V60
The AeroPress combines immersion with a pressured plunge, while the V60 is a pour-over brewer where water passes through the coffee bed primarily under gravity.
A V60 places greater emphasis on pouring technique and flow.
The AeroPress is generally more forgiving because you can control steeping before pressing.
Trying both methods with the same coffee can be an interesting way to see how brewing style affects flavour.
Clean your AeroPress
Cleaning is one of the easiest parts of how to make AeroPress coffee.
Remove the filter cap after brewing and press the plunger to eject the compacted coffee grounds and filter.
Dispose of or compost the grounds where appropriate.
Rinse the components and follow the manufacturer’s cleaning instructions for your particular AeroPress model.
Keeping the brewer clean prevents old coffee residue from affecting future cups.
Make your AeroPress coffee
One advantage of learning how to make AeroPress coffee is the freedom to experiment without making the brewing process unnecessarily complicated.
Start with 15g coffee, 225g water, a medium-fine grind and a 1½ to 2-minute steep.
Taste the result before changing anything.
You can then experiment with grind size, ratio, temperature and brewing time until you discover what works best for your beans.
Now that you know how to make AeroPress coffee, choose some freshly roasted coffee, heat your water and start brewing.
Once you’ve found a recipe you enjoy, write it down so you can repeat it — or use it as the starting point for your next experiment.
Best Selling Products
-

Brazil Fazenda Pinhal Coffee
From: £9.99 — or subscribe to save 10% -
House Blend Coffee
From: £9.99 — or subscribe to save 10% -
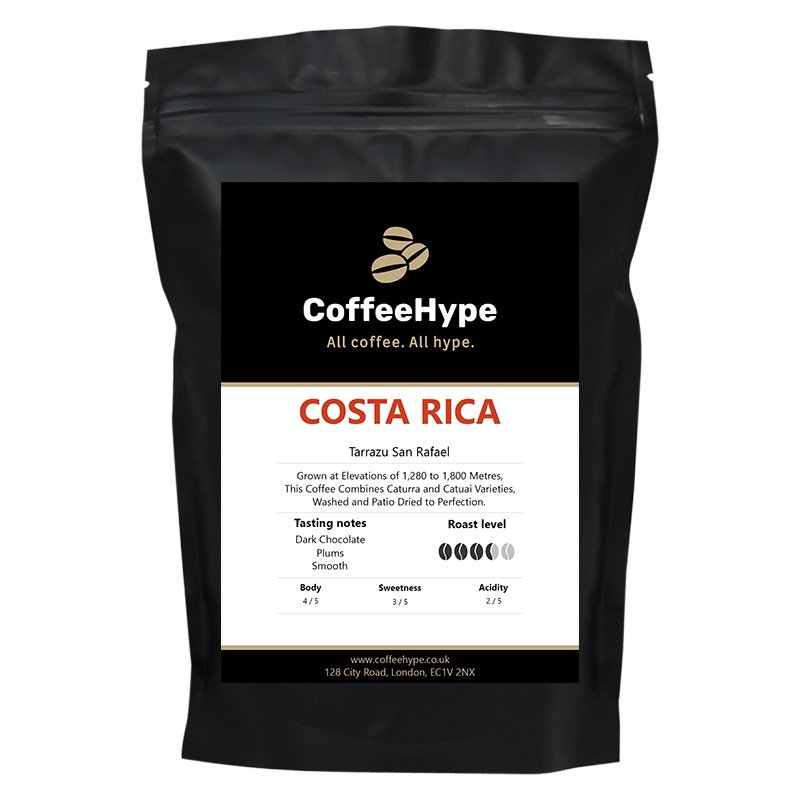
Costa Rica Tarrazu San Rafael Coffee
From: £9.99 — or subscribe to save 10% -
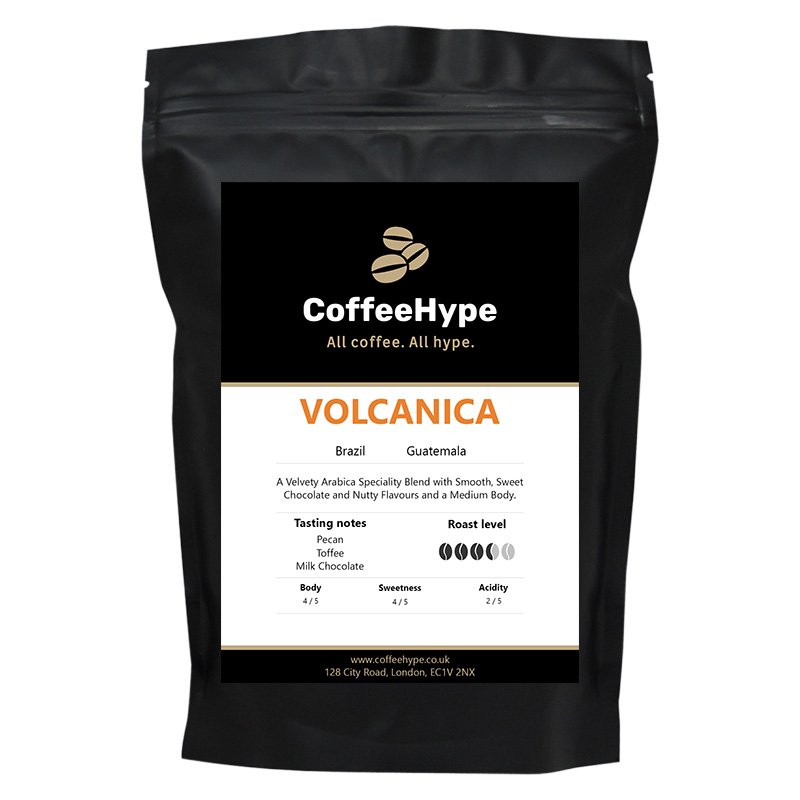
Volcanica Coffee Blend
From: £9.99 — or subscribe to save 10%


2023